Introduction
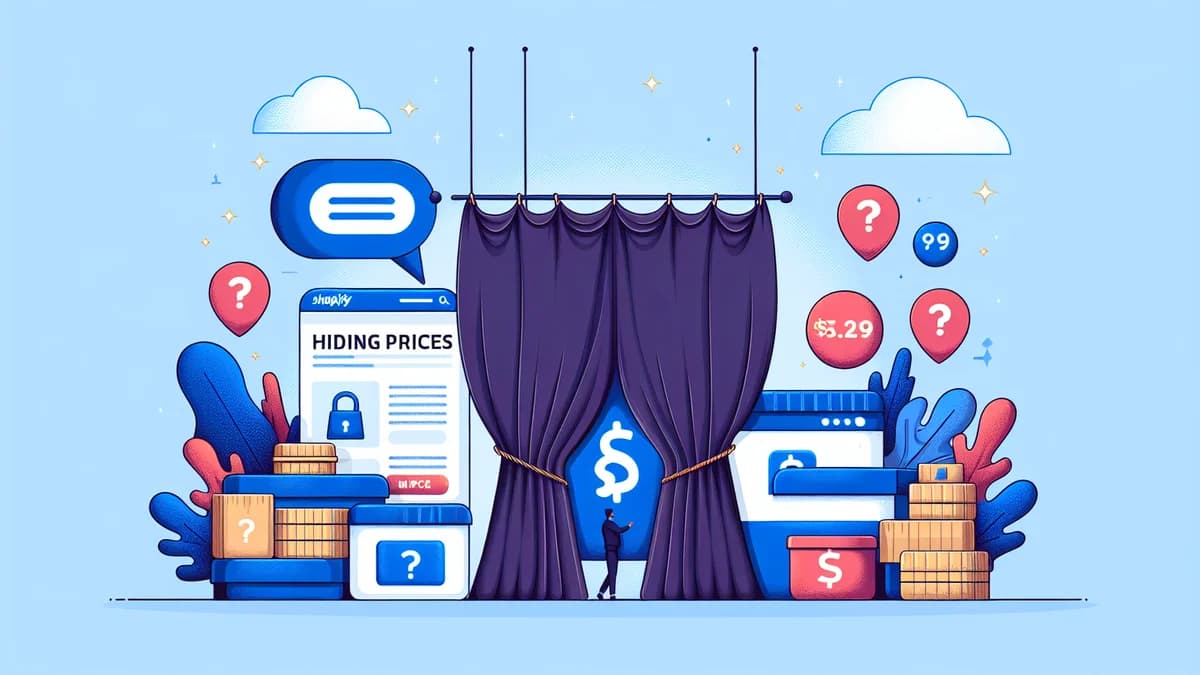
For many Shopify store owners, the "Add-to-Cart" button is the cornerstone of their sales process. However, there are specific business scenarios where you might need to hide the add to cart button Shopify and, consequently, the product price. Whether you're managing B2B sales, adhering to Minimum Advertised Price (MAP) policies, or selling high-value items requiring a consultation, a direct purchase option isn't always suitable.
This guide will walk you through why and how you can effectively hide the Add-to-Cart button on Shopify, replacing it with a custom call to action like "Request Price" or "Price on Enquiry." We'll focus on a practical, app-based solution, like Peekaboo Pricing, that simplifies this process without requiring complex code changes.
Why Hide the Add-to-Cart Button and Product Price?
Strategically hiding your product prices and the Add-to-Cart button can serve several crucial business objectives. It shifts the customer journey from immediate purchase to a more controlled engagement, allowing you to qualify leads and provide tailored information.
MAP Compliance
Many brands enforce Minimum Advertised Price (MAP) policies, preventing retailers from publicly displaying prices below a certain threshold. To remain compliant, you must hide the product price on Shopify and the Add-to-Cart button, often replacing it with a "Call for Price" or "Request Quote" option. This allows you to sell at competitive prices privately without violating manufacturer agreements.
B2B Wholesale and Custom Quotes
For B2B Shopify stores, pricing is rarely straightforward. Wholesale customers often require custom quotes based on volume, specific configurations, or negotiated rates. By hiding the add to cart button Shopify, you can prompt businesses to submit an enquiry, allowing your sales team to follow up and provide relevant pricing information or build stronger relationships.
Premium and Luxury Products
High-end or luxury items often benefit from a more curated sales experience. Displaying a "Price on Enquiry" button instead of an immediate price can enhance perceived value and exclusivity. It encourages potential buyers to engage directly, opening the door for personalised consultations that convert interest into sales for premium products.
In-Store Only Items
Sometimes, certain products are exclusively for in-store purchase, requiring a physical visit or consultation. Hiding the add to cart button on Shopify for these items, and replacing it with a message like "Visit Us for Pricing" or "In-Store Purchase Only," guides customers to your physical location. This drives foot traffic and ensures these specific products are handled appropriately.
Lead Generation and Qualification
Removing the immediate purchase option compels interested customers to complete a form or contact you. This turns passive browsers into active leads. You can capture valuable contact information and details about their needs, allowing your sales team to follow up with targeted information, making the "shopify request price button" a powerful lead capture tool.
Traditional Methods vs. App Solutions
Before diving into the streamlined app approach, it's worth briefly touching on traditional methods for hiding prices and add-to-cart buttons.
Manual Code Edits (Not Recommended for Most)
Technically, you can hide elements on your Shopify store by editing your theme's Liquid code. This often involves locating the relevant sections for product prices and the add-to-cart button (usually in files like product-template.liquid or snippets related to product forms) and adding conditional logic or CSS to hide them. However, this method comes with significant drawbacks:
- Complexity: Requires coding knowledge and can be intimidating for non-developers.
- Maintenance: Theme updates can overwrite your changes, and custom code needs ongoing maintenance.
- Lack of Functionality: Hiding elements doesn't provide a replacement like a "Request Price" form or an automated reveal link.
- Error Prone: Incorrect edits can break your theme or storefront.
For these reasons, a dedicated Shopify app is almost always the superior solution for hiding product prices and the Add-to-Cart button.
Hiding the Add-to-Cart Button on Shopify with Peekaboo Pricing
The Peekaboo Pricing app is designed specifically for Shopify merchants who need to hide prices and manage customer enquiries effectively. It provides a robust, code-free way to implement price hiding and lead generation strategies. Here's a step-by-step guide:
Step 1: Install the Peekaboo Pricing App
First, you'll need to install the Peekaboo Pricing app from the Shopify App Store. The installation process is straightforward, following Shopify's standard app installation procedure. Once installed, the app will integrate with your store and guide you through any initial setup steps.
Step 2: Create a New Hide Price Type
Peekaboo Pricing uses "hide price types" to define how hidden prices appear and behave. You can create unlimited types for different product scenarios (e.g., "Wholesale Enquiry," "MAP Protected," "In-Store Only").
- Navigate to "Hide Price Types": In the Peekaboo Pricing app dashboard, find the section for creating and managing hide price types.
- Click "Create New Hide Price Type": Give your new type a descriptive name, like "Request Price for B2B" or "MAP Product Enquiry."
- Choose a Display Mode: Select how you want the hidden price content to appear:
- Modal Form: A button (e.g., "Request Price") appears on the product page. Clicking it opens a popup window with your enquiry form.
- Inline Form: The enquiry form is displayed directly on the product page, replacing the price and Add-to-Cart button.
- Content Only: No form is displayed. Instead, you can show a custom message (e.g., "Visit our store for pricing") with an optional button linking to another page (like a store locator or contact page). This is ideal for "in-store only" items or login prompts.
- Configure Form Fields (for Modal/Inline Forms): If you chose a form-based display mode, you can customise the fields your customers will fill out. Peekaboo offers various field types (Text, Email, Phone, Textarea, Select Dropdown, Radio Buttons, Checkbox, Checkbox List). Build a form that captures the information you need, from a simple name and email to a detailed pre-qualification questionnaire.
- Set Up Reveal Links (Optional, but Powerful): This is a unique feature of Peekaboo Pricing. For hide price types where you *do* want to eventually show the price, you can enable "Reveal Links."
- When a customer submits your form, they receive an email with a secure, time-limited link.
- Clicking this link temporarily unlocks the product price on your store for a configurable duration (e.g., 72 hours, 7 days).
- The customer can then add the product to their cart and purchase normally through Shopify checkout. This automates the sales path for many enquiries, converting them into sales without manual follow-up.
- If reveal links are disabled (an "enquiry-only" type), you'll receive the form data and follow up manually, which is ideal for scenarios requiring custom quotes or consultations.
- Customise Messages and Button Text: Personalise the button text (e.g., "Request Price," "Price on Enquiry," "Get a Quote") and any accompanying messages that appear on the product page or within the form.
Save your new hide price type once you've configured it to your liking.
Step 3: Assign Hide Price Types to Products
Once your hide price types are created, you need to assign them to the specific products where you want to hide the Add-to-Cart button and price.
Using Assignment Rules (Recommended for Automation)
For larger catalogs or dynamic product sets, assignment rules are incredibly efficient. They automatically apply a hide price type to products based on conditions you define.
- Navigate to "Assignment Rules": In the Peekaboo Pricing app, go to the assignment rules section.
- Create a New Rule: Click to create a new rule.
- Define Conditions: Set conditions for which products should receive this hide price type. You can use various criteria:
- Vendor: E.g., apply to all products from "Samsung."
- Tags: E.g., apply to products tagged "wholesale" or "MAP."
- Product Type: E.g., apply to "Electronics."
- Collection: E.g., apply to products in the "B2B Catalogue" collection.
- Price Range: E.g., apply to products above $1000.
- Customer Login Status: E.g., apply if the customer is NOT logged in (great for login-gated pricing).
- Select Hide Price Type: Choose which of your created hide price types should be applied when these conditions are met.
- Set Priority: If you have multiple rules, they evaluate in priority order. The first rule that matches a product will be applied.
- Exclusion Rules: You can also create "Exclusion Rules" with the action "Show Price." This allows you to explicitly show the price for specific products, overriding any other rules that might otherwise hide it. This is useful for carving out exceptions within a broader rule set.
Assignment rules ensure that new products matching your criteria are automatically configured, saving you significant manual effort.
Manual Assignment / Bulk Editor
For specific products or smaller catalogs, you can manually assign hide price types.
- Use the Bulk Editor: Peekaboo Pricing offers a powerful bulk editor. Navigate to "Products" in the app and use filters (vendor, tags, product type, status) to find the products you want to edit.
- Assign Hide Price Type: In the bulk editor, you'll see columns for "Assigned by Rules" (showing what rules *would* apply) and "Product Override." You can directly select a hide price type in the "Product Override
Related Articles
Continue your learning with these related resources:
- How to Hide Prices on Shopify: The Complete Implementation Guide (Comprehensive Guide)
- How to Track Who Clicks Your Price Reveal Links on Shopify
- Your First Hidden Price Setup on Shopify in Under 10 Minutes
- The 3 Display Modes for Hidden Prices on Shopify Explained
- Hyper Theme Price Hiding: A Complete Setup Guide for Shopify Stores
- How to Add a Price Request Form to a Shopify Product Page